In this blog we will explore how to add a replica domain controller using cloning.
One of the newest features in Windows Server 2012 is the ability to clone an existing domain controller in a production environment. There are a few requirements to be able to clone a domain controller.
- The hypervisor must support VM-GenerationID. Hyper-V running on Windows Server 2012 supports this feature.
- The source domain controller must be virtualized.
- The source virtual domain controller must be running Windows Server 2012.
- The PDC emulator role holder must be online and available to the cloned DC (must be running on a Windows Server 2012).
- The source domain controller must be a member of the Cloneable Domain Controllers global group.
Making the source DC Cloneable.
- Using Active Directory Users and Computers add the source domain controller to the Cloneable Domain Controllers Group.
Note: In order to see the DC’s in the Select this object type: you must use the Object Types box and check Computers.
Note: Any DC that is cloned from this DC will also be placed in the Cloneable Domain Controllers group.
Note: In order for the newly cloned DC to be unique an XML configuration file must be created called DCCloneConfig.xml that will be used during the first boot sequence.
- Launch PowerShell on the source domain controller.
- Import the Active Directory Manifest. Type Import-module activedirectory.
- Use get-help to review a new PowerShell CMDLET for generating the DCCloneConfig.xml file. Type get-help New-ADDCCloneConfig –full.
- Type get-help New-ADDCCloneConfig –examples to get examples of how to use the CMDLET.
Using the above example type
New-ADDCCloneConfig –static –IPv4Address “172.16.10.30” –IPv4DNSResolver “172.16.10.10” –IPv4SubnetMask “255.255.255.0” –CloneComputerName “USSHQSrv3” –IPv4DefaultGateway “172.16.10.1” –SiteName “Default-First-Site-Name”
Note: If the Validating tests fails with a service or application that is not compatible with cloning, once you have verified the application or service is ok to clone.
Use Get-ADDCCloningExcludedApplicationList to view the list
Use Get-ADDCCloningExcludedApplicationList –GenerateXML to create and exceptions list
Note: The XML file is created in c:\windows\NTDS\DCCloneConfig.XML
- The source domain controller is now ready to be cloned. Turn off the source server.
Export the Server
Use the Hyper-V Manager to export the server.
Importing the Server
- Launch the Hyper-V Manager
- In the Actions pane select Import Virtual Machine, select Next.
- Browse to the folder to locate the virtual machine, select Next.
- Select the Virtual Machine to Import, select Next.
- Choose Copy the virtual machine (create a new unique ID), Select Next.
6. Choose folders to store the copied virtual machine. Select Next.
7. Choose where to store the virtual hard disks, select Next, Select Finish
8. Note: When the Import completes the virtual machine will have the same name in the Hyper-V Manager as the Exported machine, this can be renamed.
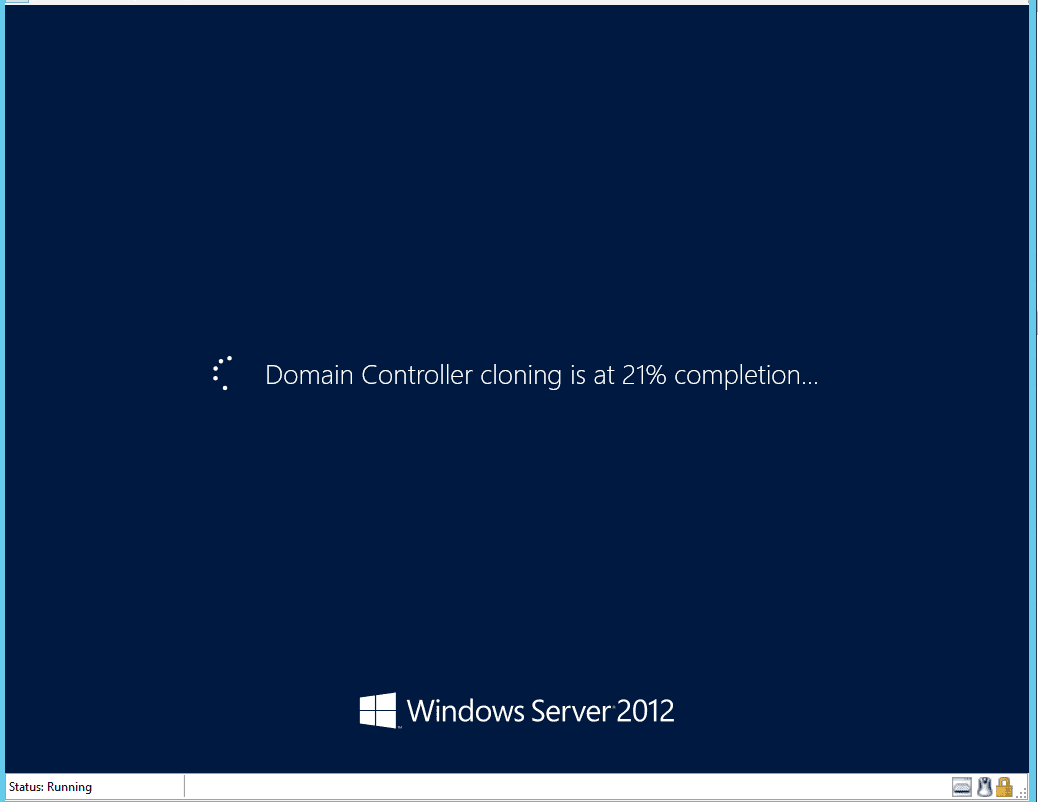
9. On the first startup of the cloned domain controller you will see the following display:
msDS-GenerationID
1. After the new clone DC has started up you can verify the existence of the newly generated unique domain controller ID. This value can only be view in the Attribute Editor of the DC Object within AD DS. You have to be logged on to the DC and use ADUC to view the new msDS-GenerationID attribute.
2. If you are logged onto a different DC the attribute will show as not set.
Your cloned domain controller is now ready for use. Until next time ride safe.
To review the previous blogs visit:
Establishing an AD DS Forest
Adding a replica Domain Controller to an existing AD DS Domain
Adding a replica Domain Controller to an existing AD DS Domain using the Install From Media (IFM) method
Rick Trader
Windows Server Instructor – Interface Technical Training


